I don’t know where this ubiquitous little quip came from because let me tell you something…this weekend I learned in no uncertain terms that pie is NOT easy. It’s not hard like I might imagine, say, an osso buco would be. I’ve never made an osso buco, so I can’t say for sure which is more difficult, but just the thought of osso buco has always intimidated me. Much like pie crust from scratch used to intimidate me. Pastry chefs with cookbooks and food bloggers the world over put the fear of God in you regarding the temperature of your butter, the precise size of your flour covered butter peas, the steadfastness with which you MUST blend or risk being proven the complete pie making failure you are terrified you might actually be, butter and shortening? Just butter? Just shortening? Chill! Chill! CHILL!! HOW MANY TABLESPOONS OF ICE WATER?!?!
I made my virgin voyage to the land of pate brisee on Tuesday night. Apple pie is in my blood which is probably another reason I was so afraid to mess it up. If my pies weren’t perfect from the word “go”, Grandma Martha up in Heaven would surely find out about it and be ashamed to call me her own. So with a fiery determination (though not too fiery….i had to make sure the butter stayed cold!) I bravely forged ahead.
My major fear was in the butter/shortening. I had to make sure it was cold enough. I knew that if my pie was a failure, it would be because my fat was not cold enough…so I froze it. In retrospect, that might not have been the smartest thing to do when cutting the butter by hand rather than with a food processor, but we live and learn. I was sure I added 1 tablespoon too much water…with the last addition, there was a smooshy slurp sound in the bowl and I almost started to cry. “I can’t add more flour now! The crust will be tough (whatever that means!)! there’s no turning back. I $*&%ed it up. I’m an apple pie dunce!! I’m throwing in my apron!!” (I’ve been called a “passionate sort” by one of the people who know me best…). I wrapped it in Saran, mooshed it into discs and put it in the fridge, fighting tears. Tuesday night, I dreamt of the perils of a sticky, overly wet dough.
Wednesday, I peeled and cored 7 apples with a paring knife (Dear Santa, an apple peeler corer would be an awesome gift. I’ve been good, albeit a little dramatic. Have a cookie. Love, Rachel), rolled out my CHILLED dough between 2 pieces of wax paper and nearly cried, again, when it was sticking as I was trying to get it in the pie plate. It was totally stressful mainly because when it comes to food and pie in particular, I’m a perfectionist.
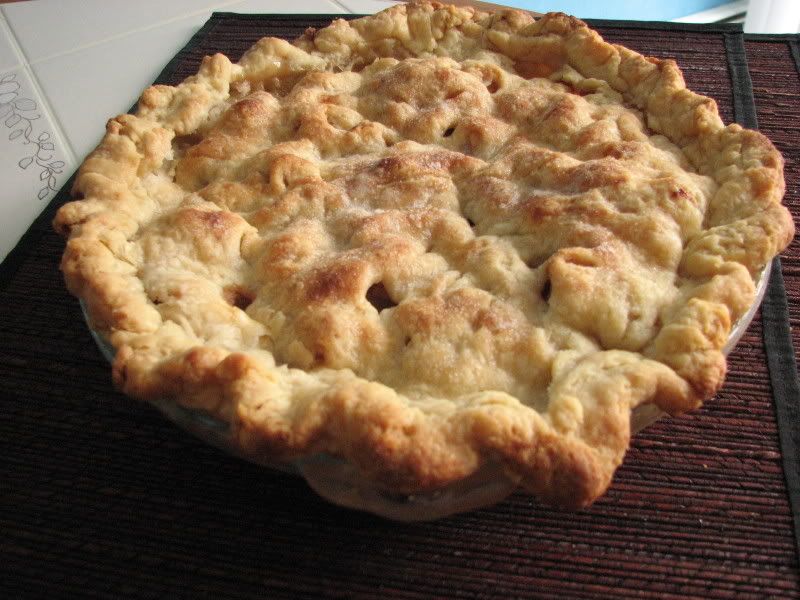
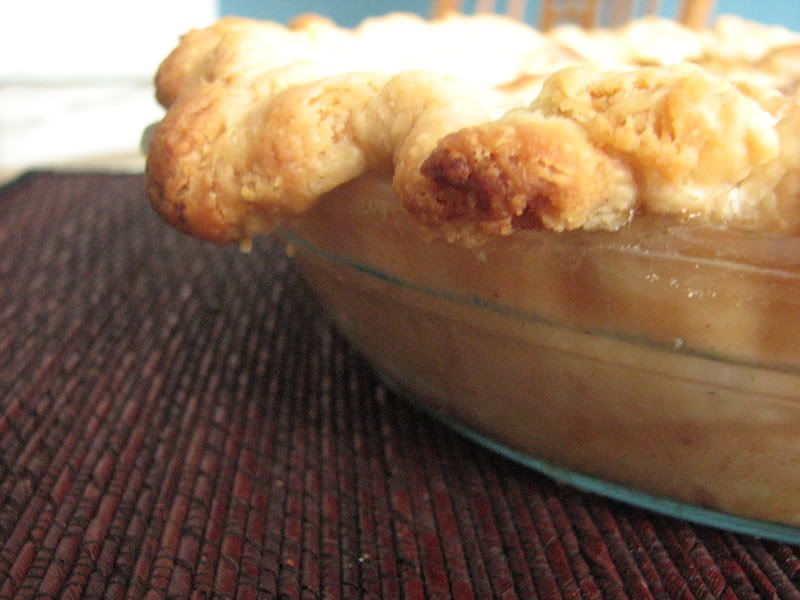
Like a mother with her first newborn, when that pie came out of the oven, golden and flaky looking, dripping hot cinnamon apple gooeyness onto the floor of my oven, perfect in all of its lopsided imperfection, I was overwhelmed with pride. It was perfect and I had done it. Grandma is proud.
Apple Pie
For the crust:
2 ¾ cups unbleached, all purpose flour
1 stick + 2 TBS of super chilled, unsalted, good quality butter, cut into ½’’ pieces
10 TBS. of super chilled or frozen Crisco, cut into ½’’ pieces
1 tsp salt
2-3 TBS sugar
6ish TBS ice water
Mix the flour, sugar and salt in a bowl, add the butter and cut into the flour mixture using a pastry blender until crumbs are pea sized. Add the Crisco and continue to blend. Add the ice water 1 TBS at a time, folding it in with a fork until it barely holds together. (don’t mix like cookie dough. Be gentle) Separate in half and wrap each half in Saran, form them into discs and chill overnight.
For the filling:
3-4 granny smith apples, peeled and cored, 1’’dice
3-4 mcintosh apples, peeled and cored, 1’’ dice
(This combo of apples is great because the mcintosh break down and turn to an applesauce consistency while the granny smith keep their shape somewhat)
Lemon juice (on the cut apples to keep them from turning brown)
Brown sugar (about ½ cup)
White sugar (about ½ cup)
Cinnamon (maybe 2 tsp)
Nutmeg (a pinch)
Cornstarch (about 3TBS)
Mix the dry ingredients well and set aside.
Roll out one disc of dough on a well floured surface or between 2 pieces of saran or wax paper, starting from the center and pressing outward, keeping the round shape. Get this dough into your pie dish whichever way is the easiest and most comfortable for you. Some people prefer to roll it onto their rolling pin and transfer it that way. I am not that adept yet. I am a bit of a spaz so I peeled off the top layer of wax paper and then did a flip and peeled off the bottom layer of wax paper which was now right side up. It stuck a little. I freaked out, but it all worked out in the end. Push the dough gently into the sides of the dish and let the extra dough hang over.
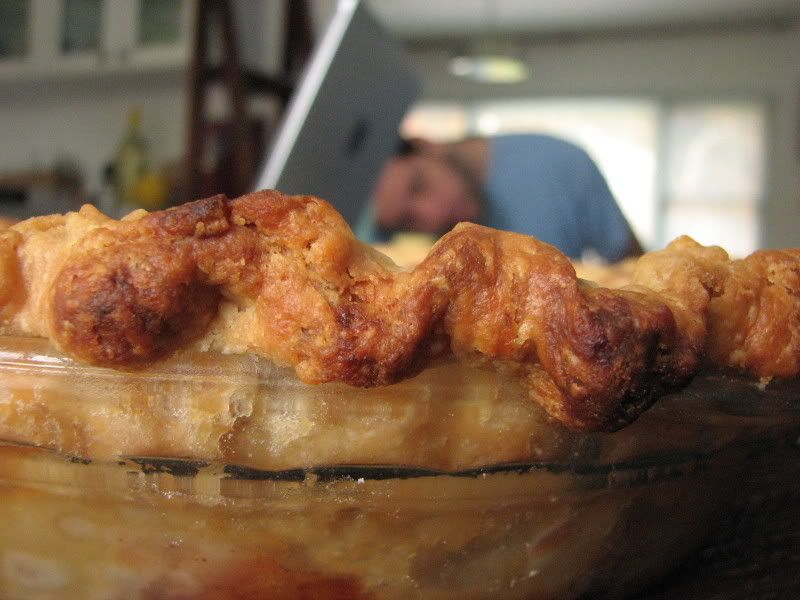
Now dot the bottom of the dough with a few pats of butter, 1/3 of the apples, a sprinkling of the sugar mixture, another 1/3 of apples, more sugar, the rest of the apples, the rest of the sugar and some more pats of butter. Roll out your top crust the same way you rolled out the first and carefully transfer it to the top of the pie. Centering it proved difficult or me, but it wasn’t a disaster. Now fold the bottom flap of dough over the top flap and roll it up to make the edge. Make it pretty by using your index and middle finger of one hand and knuckle of your thumb on the other hand to make a wavy pattern around the edge.
Vent the top so it doesn’t explode, sprinkle with sugar and bake for 50 minutes on 400.
About 20 minutes in, cover the pretty, wavy edge of your crust with foil or a pie ring.
Do yourself a favor and throw a piece of foil on the bottom rack of your oven when you cover the crust edge. The filling will inevitable bubble over and cleaning it off the bottom of your oven is no picnic.
Kiss yourself. Your grandma is proud.


4 comments:
Looks great!
Looks awesome! Hilarious story too! lol.
Your post made me chuckle, oh the adventures of kitchen baking! Your pie looks delicious though, great job. :)
Ari (Baking and Books)
Your pie looks great!
Here's a trick you may find handy--freeze your butter, then use a cheese grater to shred it into your flour mixture. Keeps the butter cold and makes just the right size pieces!
Post a Comment